Deploying dynamic web content with Perl scripts on a powerful server setup like OpenLiteSpeed on Vultr can boost your application performance. However, to get started, the right installation process is essential. This guide will walk you through how to install CGI Perl on OpenLiteSpeed on Vultr, step by step, ensuring you configure everything correctly for a seamless development experience.
Why Use CGI Perl with OpenLiteSpeed?
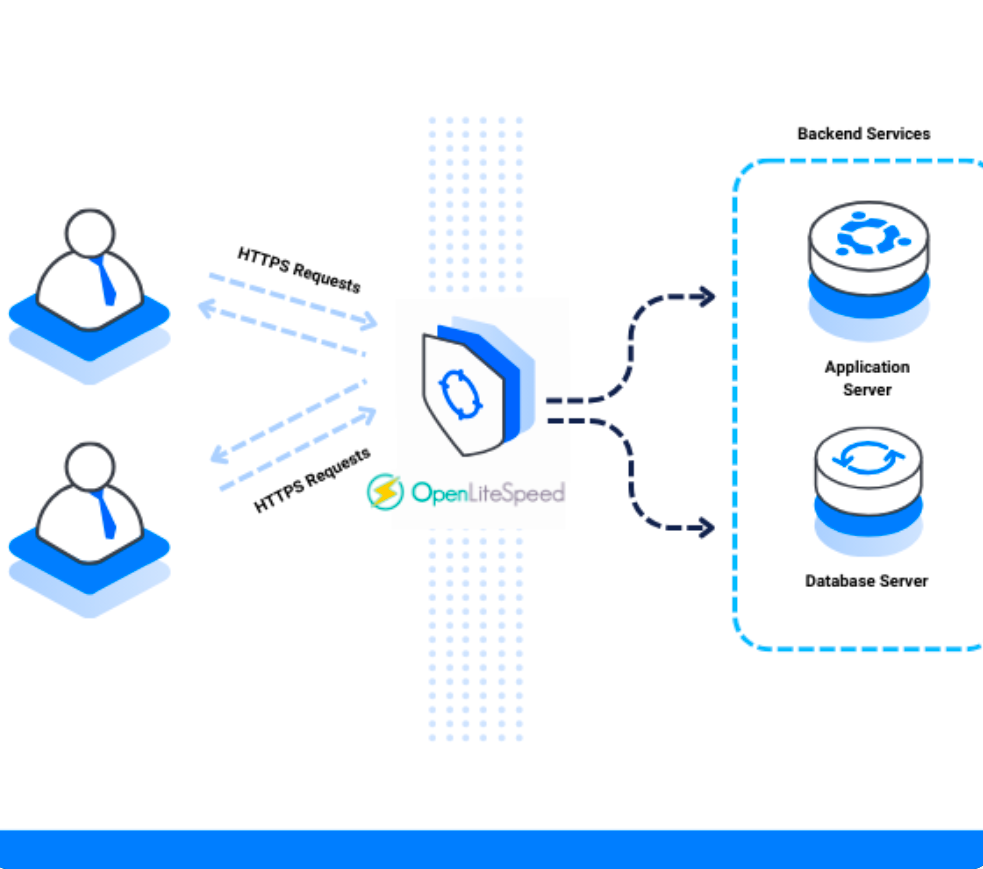
Perl, known for its text processing capabilities and script flexibility, pairs excellently with OpenLiteSpeed — a lightweight, high-performance HTTP server. When hosting with Vultr, a cloud provider known for speed and scalability, you get an ideal trio for deploying robust web applications.
Using CGI (Common Gateway Interface), you can run Perl scripts on your server to handle form submissions, dynamic page rendering, and more.
Step 1: Create a Vultr Instance with OpenLiteSpeed
Begin by logging into your Vultr dashboard and deploying a new instance.
- Choose a server location close to your audience.
- Select the “One-Click App” and choose OpenLiteSpeed.
- Opt for your desired server size and OS (preferably Ubuntu 22.04 for stability).
- Deploy the server and note your SSH login credentials.
This method saves time as OpenLiteSpeed comes pre-installed, allowing you to skip manual setup.
Step 2: Access Your Server via SSH
Once your instance is running, connect via SSH from your terminal:
bashCopyEditssh root@your_server_ip
If prompted, enter your root password. It’s recommended to change the password or set up SSH keys for enhanced security.
Step 3: Update Your System
Before installing any packages, update your server:
bashCopyEditapt update && apt upgrade -y
Keeping your system up-to-date helps avoid compatibility issues and improves performance.
Step 4: Install Perl and Required Modules
Perl is often pre-installed on most Linux systems. To check, run:
bashCopyEditperl -v
If it isn’t installed:
bashCopyEditapt install perl -y
To ensure CGI support:
bashCopyEditapt install libcgi-pm-perl
These packages provide the necessary components to run CGI Perl scripts effectively.
Step 5: Configure OpenLiteSpeed to Support CGI Perl
Now comes the crucial part: integrating Perl with OpenLiteSpeed.
- Log into OpenLiteSpeed WebAdmin Panel
Access it at:http://your_server_ip:7080
Login credentials are found at:/usr/local/lsws/adminpasswd. - Enable CGI in Server Configuration
- Go to Server Configuration > External App.
- Click Add, and choose CGI App.
- Name:
perl - Type:
CGI - Address:
uds://tmp/lshttpd/perl-cgi.sock - Max Connections:
10 - Command:
/usr/bin/perl - Environment:
PERL5LIB=/usr/lib/perl
- Map CGI Script Handler
- Go to Script Handler.
- Add handler:
- Suffix:
.pl - Type:
cgi - Handler Name:
perl
- Suffix:
This links .pl files to the Perl CGI processor.
Step 6: Deploy Your First Perl CGI Script
Next, test your configuration by deploying a basic Perl script.
Navigate to your web directory:
bashCopyEditcd /usr/local/lsws/Example/html
Create a new script:
bashCopyEditnano test.pl
Paste the following code:
perlCopyEdit#!/usr/bin/perl
print "Content-type: text/html\n\n";
print "<html><body><h1>Perl CGI is working on OpenLiteSpeed!</h1></body></html>";
Save and exit. Make it executable:
bashCopyEditchmod +x test.pl
Restart OpenLiteSpeed for the changes to take effect:
bashCopyEdit/usr/local/lsws/bin/lswsctrl restart
Visit http://your_server_ip/test.pl in your browser. If everything is set up correctly, you’ll see your message.
Step 7: Secure Your CGI Environment
Although it’s exciting to see your CGI Perl script running, security should never be an afterthought. Here are a few tips:
- Disable directory browsing.
- Limit CGI execution to trusted directories.
- Use
.htaccessor web server configs to block unwanted access. - Regularly update your Perl modules.
These practices help protect your server from potential vulnerabilities.
Troubleshooting Tips
If something goes wrong, don’t worry. Here are some common issues and fixes:
- 500 Internal Server Error: Check script permissions and ensure the first line of the Perl file points to the correct Perl path (
#!/usr/bin/perl). - 404 Not Found: Confirm that the script is placed in the correct web directory.
- Permission Denied: Always run
chmod +x yourscript.plto make it executable.
Monitoring OpenLiteSpeed logs (/usr/local/lsws/logs/error.log) will also reveal helpful error messages.
Conclusion
Setting up CGI Perl on OpenLiteSpeed on Vultr is a powerful combination for dynamic, high-speed applications. From deploying your Vultr instance to scripting with Perl, each step builds a reliable and scalable server environment. Now that you’ve learned how to install CGI Perl on OpenLiteSpeed on Vultr, you’re equipped to deploy powerful Perl-based web solutions with confidence.